
HDR Real Estate Photography: Tips for Stunning Property Images

High-Dynamic Range (HDR) photography is a game-changer in real estate marketing, offering unparalleled detail and balance in property imaging.
However, mastering HDR with manual blending necessitates both technical skill and an aesthetic sense to elevate residential real estate visuals to their full potential.
Mastering HDR Shooting Techniques
To harness the full potential of HDR photography, a precise approach to shooting is required. This involves capturing a series of bracketed exposures, metered to articulate the highs and lows of light and shadow within a property's space. This technique, when used correctly, unlocks a spectrum of dynamic range that single exposures simply cannot attain, allowing the final image to be perfectly exposed across the entire composition.
Selecting Proper Equipment
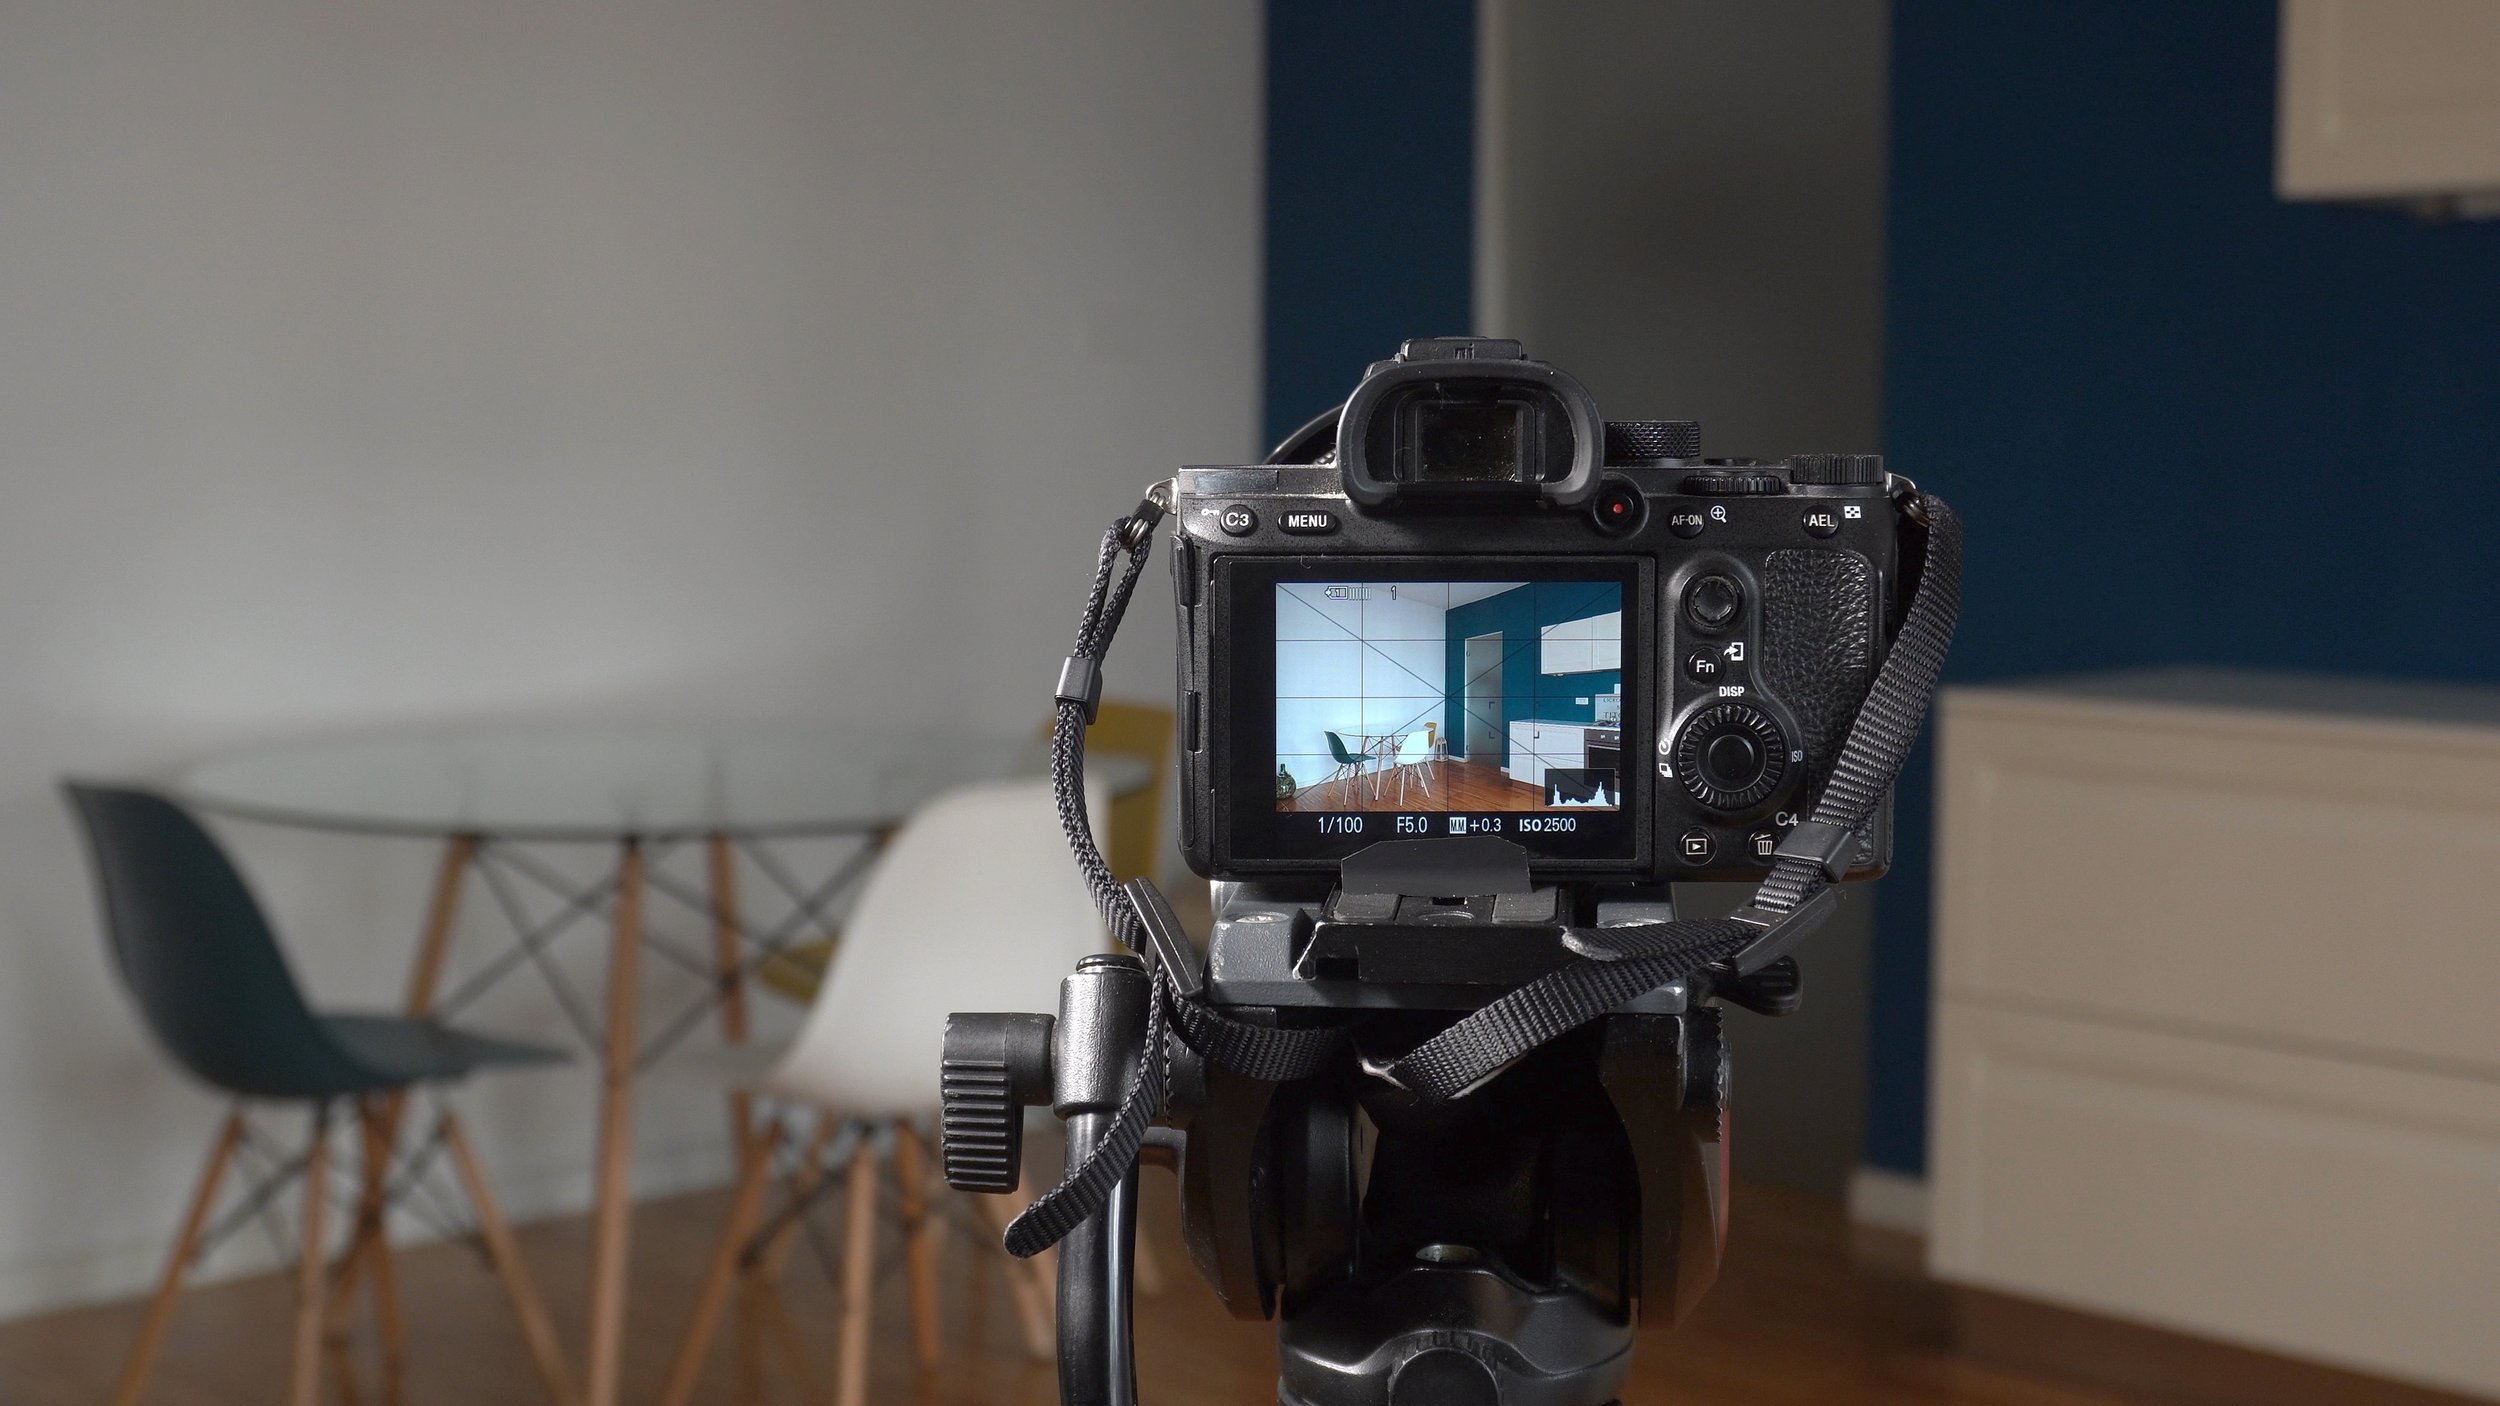
Precise HDR photography, especially in the realm of real estate, demands high dynamic range-capable cameras that can handle bracketed exposure sequences. Most modern DSLRs and mirrorless cameras feature bracketed options of either 3 or 5 exposures - the number of stops and settings required differ between systems.
To realize the nuanced details of a property, lenses matter profoundly—they must provide sharpness, minimal distortion, and a wide-angle perspective. Typically 16mm (on full-frame cameras) or wider lenses are used. Although fisheye distortion can be removed in post-processing, rectilinear lenses are recommended.
Equally critical is the camera stability throughout the bracketing sequence. A sturdy tripod is therefore indispensable, ensuring each frame aligns with its counterparts.
The tripod's stability ensures the alignment in bracketed shots, essential for flawless HDR composites.
Finally, HDR processing requires a robust computer that can deftly manage high-resolution images and sophisticated software tools. Post-processing turns these raw materials into the visually stunning images that exemplify top-tier real estate presentations.

Setting the Optimal Exposure Bracketing
Exposure bracketing is central to capturing the full dynamic range of a scene. For real estate imaging, this involves taking multiple shots at different exposures, generally ranging from underexposed to overexposed, to encompass all luminance levels of the property. Properly bracketed sequences will allow for the darker interior areas to be evenly lit while retaining bright details such as views through windows or directly sunlit areas.
Incremental exposure values between brackets are pivotal—smaller increments preserve detail but require more images, while larger steps might risk losing delicate highlights and shadows.
The ideal increment is usually one to two stops (EV) apart, balancing detail retention and the number of shots. Attention to the histograms helps prevent clipping in both shadows and highlights. The number of brackets depends on the scene's contrast, but typically, 3 to 5 shots are effective.
Stabilizing for Image Consistency
A sturdy tripod is imperative to guarantee identical framing for the exposure brackets. Even minor shifts could result in alignment issues during post-processing, leading to a compromised final image.
Remote shutter releases or self-timers further reduce camera shake. These tools ensure that the photographer's contact does not affect the stability of the camera during the exposure, maintaining the integrity of the image sequence.
In the context of HDR photography, particularly with manual blending, the smallest movement can be detrimental, causing ghosting or misalignment when layering exposures.
Advanced tripods with built-in levels and geared heads facilitate meticulous positioning and exact leveling of the composition. With proper leveling, the vertical and horizontal lines in the scene will be straight as opposed to converging or diverging.
Enhancing Images with Manual Blending
In HDR photography, manual blending is a method where different exposures of the same scene are meticulously combined in post-processing to achieve an image with superior dynamic range. By hand-picking elements from each exposure, editors can craft a final image that retains detail in both shadows and highlights. This technique often involves layering and masking the appropriate exposures onto the final image, enabling a seamless transition between the exposures.
Unlike automated HDR software that can sometimes yield an oversaturated and unrealistic effect, manual blending fosters a "painterly approach." It allows for selective enhancement of a scene's elements, ensuring that the brightest highlights and darkest shadows are balanced. In real estate photography, this often results in more inviting and realistic representations of properties that stand out in the competitive market.

In real estate photography, this often results in more inviting and realistic representations of properties that stand out in the competitive market.
Layering Exposures in Editing Software
HDR photography elevates real estate imagery through a blending of layered exposures.
Bracket the exposures: Capture the scene multiple times at different exposure values to account for all lighting nuances.
Align and layer the images: In editing software, stack these exposures, aligning them perfectly to negate any discrepancy from camera movement.
Choose a base exposure: Select one exposure as the foundation that best captures the overall scene.
Manually blend the exposures: Paint in highlights from the lightest exposure and shadows from the darkest to create an even balance.
Fine-tune transitions: Adjust the opacity of layers and use gradients or masks to ensure smooth transitions without harsh edges.
The precision in blending these exposures dictates the photorealism of the final product.
Thoughtful layering with manual adjustments allows for architectural elements to shine and spaces to feel naturally vibrant.
Final Touches for a Polished Look
Achieving a refined image in HDR real estate photography involves meticulous attention post-capture.
Burn and Dodge: To add depth and dimension, darken (burn) or lighten (dodge) specific areas.
Noise Reduction: Apply noise reduction to ensure clean, smooth surfaces, particularly in shadow regions.
Sharpening: Accentuate edges to enhance detail without artificially oversharpening.
Chromatic Aberration Removal: Correct any color fringing for a more polished appearance.
Lens Distortion Correction: Adjust any wide-angle lens distortions to maintain architectural integrity.
These enhancements are the keystones to transforming good photographs into exceptional portfolio pieces.
Closing Thoughts
HDR is a potent tool in real estate.
When employed with precision and artistry, HDR photography fulfills the promise of bringing a property's best features into the limelight. Harnessing its full potential necessitates a blend of technical proficiency and creative vision, ensuring images not only captivate but also remain true to the property's essence.
In-depth knowledge and application of advanced photographic techniques typify the evolving landscape of residential real estate media, consistently raising the bar for visual representation. At Skyflair, we have dedicated ourselves to mastering these techniques as well as many others to help elevate your listings.